
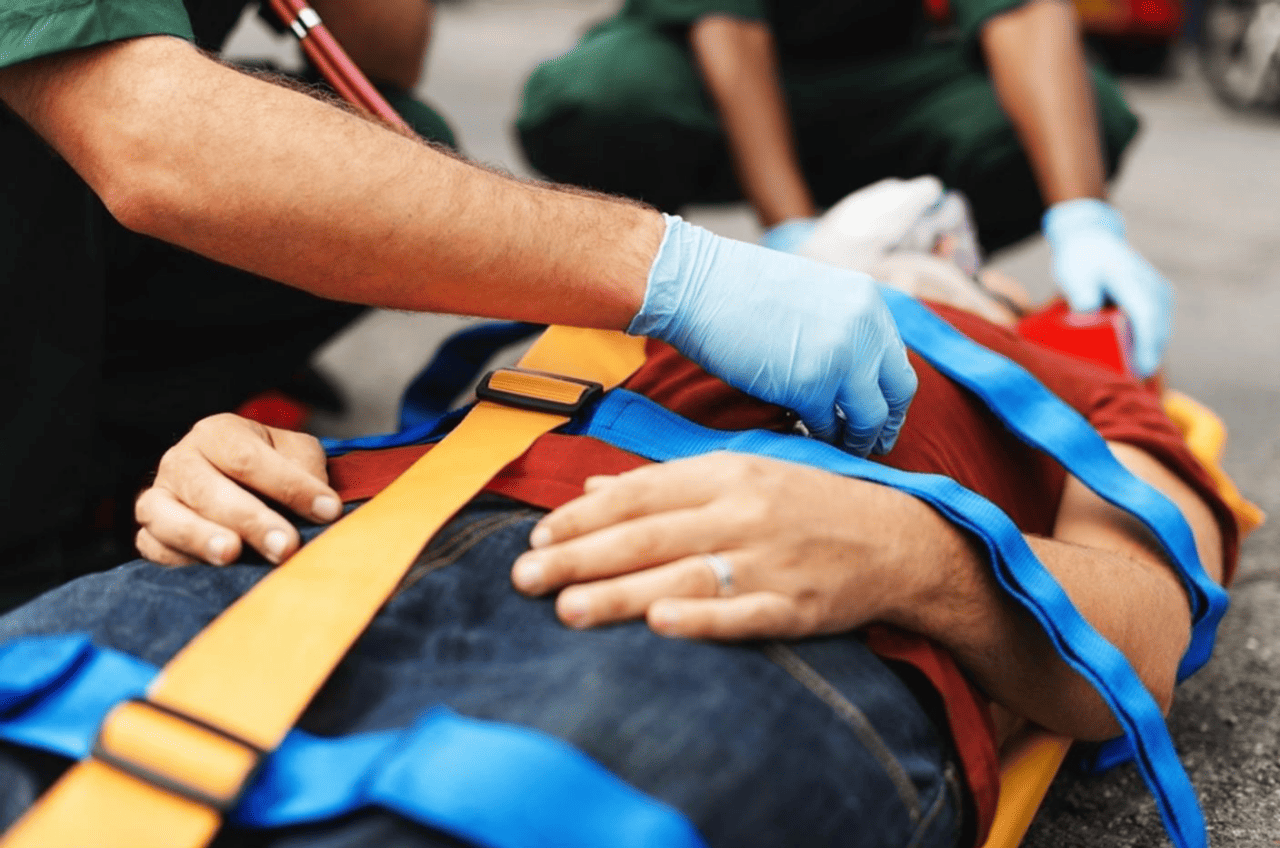
Securing a patient isn’t just “one step in the process.” It’s the gate that keeps preventable risk outside.
For hospital procurement leads, EMS trainers, and rescue equipment buyers, consistent restraint use helps reduce falls, secondary injury, interrupted care, and downstream liability.
In this guide, we’ll clarify four things:
- Why full-time, correct restraint use matters
- How to evaluate straps and buckles and what standards to watch for.
- Step-by-step securing for three common devices: ambulance cots, spine boards, and stair chairs
- Key adult vs. pediatric differences, plus a reusable “go/no-go” checklist for crews

Why Proper Strapping Matters
If the stretcher is moving, the patient must be secured. During hard braking, sharp turns, or a collision, an unsecured patient can be ejected or thrown inside the vehicle. That’s not drama—it’s transport physics.
Most modern ambulance cots typically include:
- Three cross straps: legs, pelvis/hips, and upper torso
- Two shoulder straps: to control forward motion and prevent “submarining”
The riskiest habit?
“Skipping one strap to save time,” especially the shoulder harness. Even a small tip-over (like a wheel catching a curb) can let a partially secured patient slide off. In a crash or rollover, missing straps can dramatically increase the chance of injury—including partial ejection from the cot.
The simple takeaway:
Use every strap provided, for every patient, every time.
Across the industry, safety guidance consistently emphasizes complete restraint use and equipment that meets crash-test and ambulance mounting requirements.
How to Secure a Patient on an Ambulance Stretcher (Wheeled Cot)
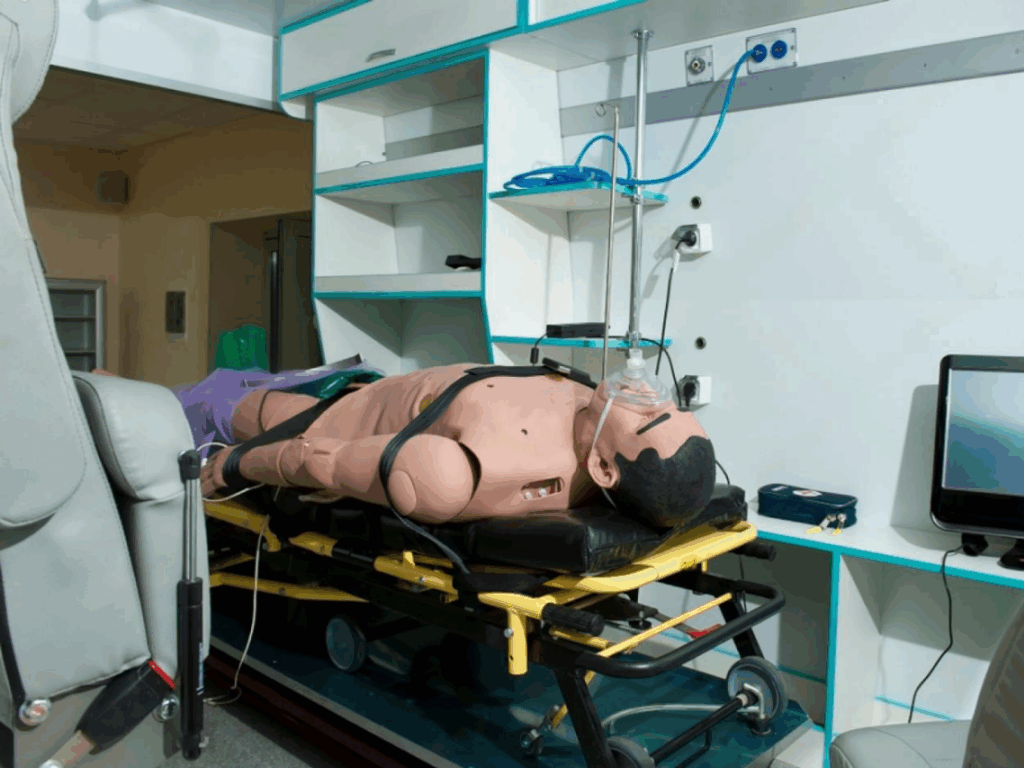
Ambulance cots are built with multiple restraint points. The operational baseline is:
- Use at least three cross straps
- Add shoulder restraints whenever available
Typical configuration: chest/torso strap, waist/pelvis strap, leg strap, and two shoulder straps that integrate with the main strap system.
Standard method: 4 steps
1) Position first: get the patient aligned
- Place the patient supine (or a position of comfort if protocol allows), centered on the cot
- Head positioned at the adjustable backrest end
- Ensure limbs aren’t trapped in side rails
- If spinal injury is suspected, maintain inline stabilization during positioning
2) Use all straps in sequence—don’t skip
A stable top-to-bottom order:
- Shoulder straps in place: bring them over the shoulders, buckles near the waist
- Buckle the main strap (torso/waist), routing through connectors as required
- Buckle the leg strap (over thighs or shins), tighten to fit
- Tighten shoulder straps: connect into the main buckle or dedicated points to form an “X” across the chest and stabilize the upper body
3) Snug, not strangling
- Aim for a two-finger check (you can barely slip two fingers under the strap)
- Confirm the chest strap doesn’t restrict breathing
- Confirm the leg strap isn’t creating pressure points
- Route straps over bony support areas (shoulders/hips) rather than the soft abdomen when possible
4) Final check: buckles + ambulance lock system
- Confirm every buckle is fully latched
- Quick tug-test each strap
- Confirm the cot is locked into the ambulance mounting system
- Hard rule: “Patient secured + stretcher secured” is the safety standard
Common error: skipping shoulder straps.
Shoulder restraints help prevent forward lurching and submarining under a waist belt. For training and procurement, aim for an integrated five-point restraint setup (two shoulders + torso + legs), or retrofit a tested shoulder harness onto older cots.
How to Secure a Patient on a Spine Board (Backboard)
Spine boards are primarily used for trauma patients or others requiring full spinal immobilization. The goal is a neutral head/neck/spine position with minimal movement.
Common approach:
- At least three body straps
- Plus a head immobilizer
The sequence matters
Typical correct order:
Chest → hips/pelvis → legs/ankles → head immobilization
Why: you secure the body first so movement doesn’t transfer stress to the neck.

Step-by-step (usable as a training SOP)
- Apply a cervical collar first when spinal injury is suspected; maintain manual stabilization throughout
- Center the patient on the board using a coordinated log-roll; align the body with the board’s midline
- Chest strap: at armpit/upper torso level, buckle snug
- Pelvis strap: just below the iliac crests, buckle firmly
- Legs/feet strap: mid-thigh (and ankles if available); if only one strap, cross ankles and secure to reduce scissoring/sliding
- Pad voids: towel rolls as needed to prevent flexion when straps tighten
- Head immobilization: after body straps, use head blocks/rolls and secure forehead/chin
- Secure arms if needed and re-check: stable, no significant sliding, and no compromise to breathing/circulation
Many EMS systems use multi-point spider straps. Principle stays the same: symmetrical, even tension—torso first, then legs, then head. Pediatric patients typically need more padding due to proportionally larger heads and narrower shoulders.
How to Secure a Patient on a Stair Chair (Evacuation Chair)
Stair chairs move non-ambulatory patients on stairs. Because the patient is seated and often tilted during descent, gravity can pull them out if they aren’t strapped in.
Most stair chairs include 2–3 restraints:
- Chest/torso strap (or shoulder harness)
- Lap/hip belt
- Optional leg/ankle strap
Steps (torso → pelvis → legs)
- Torso/chest strap
- Harness style: shoulder straps cross as an “X,” keeping the patient against the chair back
- Simple belt style: place high across the chest at armpit level
- Hip/lap belt
- Keep low over the hip bones; do not allow it to ride up over the abdomen
- Legs/ankles
- Use ankle/calf strap if present; if not, lightly bind ankles with an additional strap/cravat
- Posture and check
- Patient seated deep, back against the chair
- Confirm snug fit before lifting/tilting
- Follow device tilt guidance so gravity presses the patient into the chair—not out of it
Do not move a patient on a stair chair without straps. Inspect straps frequently for wear at friction points, and verify capacity/fit for larger patients (use strap extenders if required and permitted).
Adult vs. Pediatric: What Changes
Children are not small adults. They can slip out of adult straps, and their body proportions (larger head, flexible neck) require different positioning and padding.
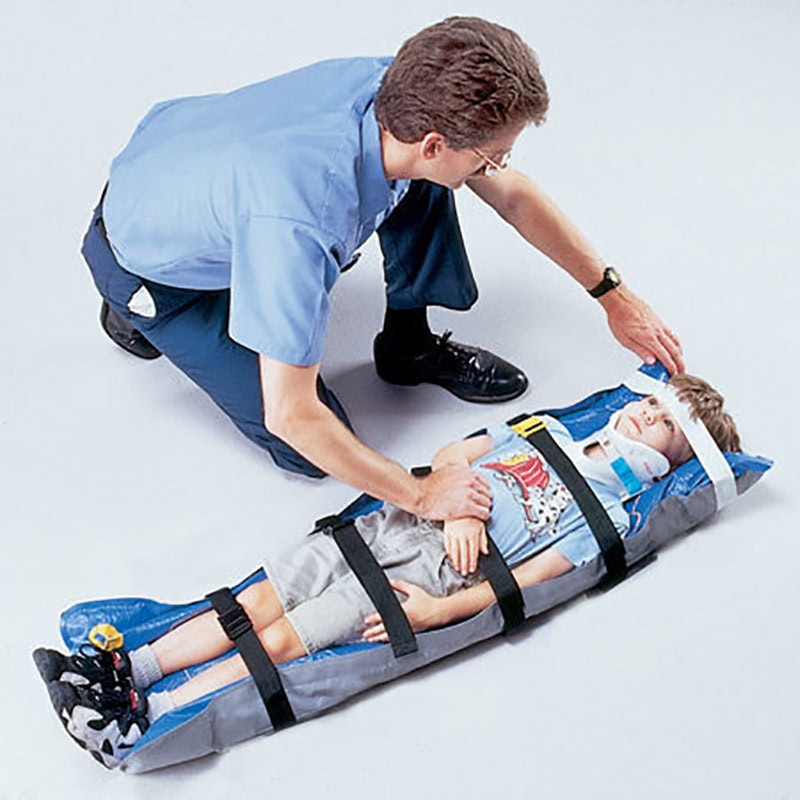
Core rule:
Never transport an infant or child unsecured, and never on someone’s lap.
Key pediatric points for buyers and trainers:
- Use pediatric-specific restraints when possible
- Infants: secured in an appropriate infant seat/carrier attached to the cot
- ~10–40 kg (22–90 lb): pediatric five-point systems are often a better fit than standard cot straps
- Follow weight ranges
- Below range: infant carrier is usually safer
- Above range: standard straps may work, but use all restraints (including shoulder harness) and add padding as needed
- Padding and positioning
- On a backboard, pad under shoulders to keep the spine neutral after the head is secured
- Avoid straps across the neck or abdomen; keep chest straps on the thorax and pelvic straps low at the hips
- Behavior considerations
- Explain straps as a seatbelt for reassurance
- Caregiver can ride nearby (properly restrained), but should not hold the child
- Soft restraints only per protocol when necessary
- Policies should be explicit
- Define when pediatric restraints are required and what to do if appropriate restraint is unavailable
EMS Restraint Strap “Go/No-Go” Checklist
This is built to print as a crew card:
- Prep cot and straps: stabilize the stretcher, unlock/extend all straps
- Position: patient centered; spinal alignment maintained if needed; avoid pinching clothing/lines
- Upper body first: chest/torso strap first; shoulder harness positioned before buckling the main strap
- Pelvis and legs: hip belt low over the iliac crests; leg straps secured; ankle straps if available
- Placement and tension: straps flat, not twisted, not riding into neck/abdomen; two-finger check; breathing/circulation intact
- Secondary restraints: shoulder harness connected and tightened; head immobilization after body straps for backboards
- Final safety check: all buckles latched; quick tug-test; minimal patient shift; cot locked into ambulance mount; team verbal confirmation
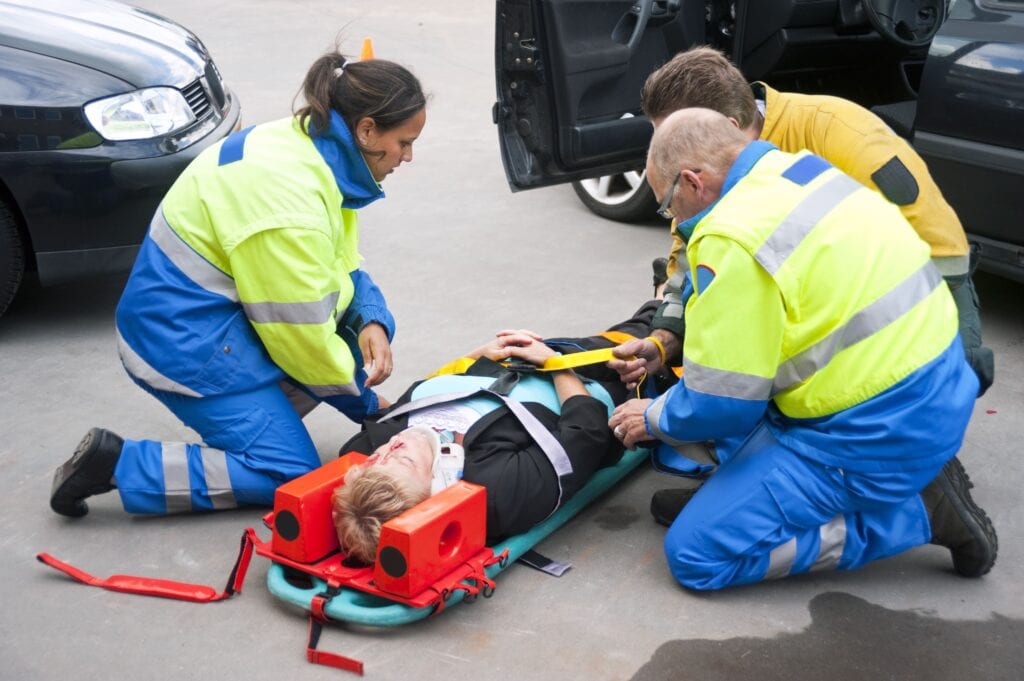
Conclusion & Next Step
Strong transport safety isn’t about one “perfect strap technique.” It’s about building a repeatable habit: the right restraint system, used the same way on every patient, on every run. Over time, that consistency is what reduces near-misses, protects clinical care during transport, and helps organizations standardize training across crews and sites.
If you’re reviewing restraint setups for hospital transport teams, EMS fleets, ambulance upfitters, or distribution programs, it can help to sanity-check three things early: compatibility, standard alignment, and how easily crews can follow the same steps under pressure.
If you’d like, our team at Jiekang Rescue can share a catalog and help map a practical configuration (strap layout, buckle type, pediatric options, OEM/ODM details like color/logo/strap arrangement) based on your stretcher models and use scenarios.