
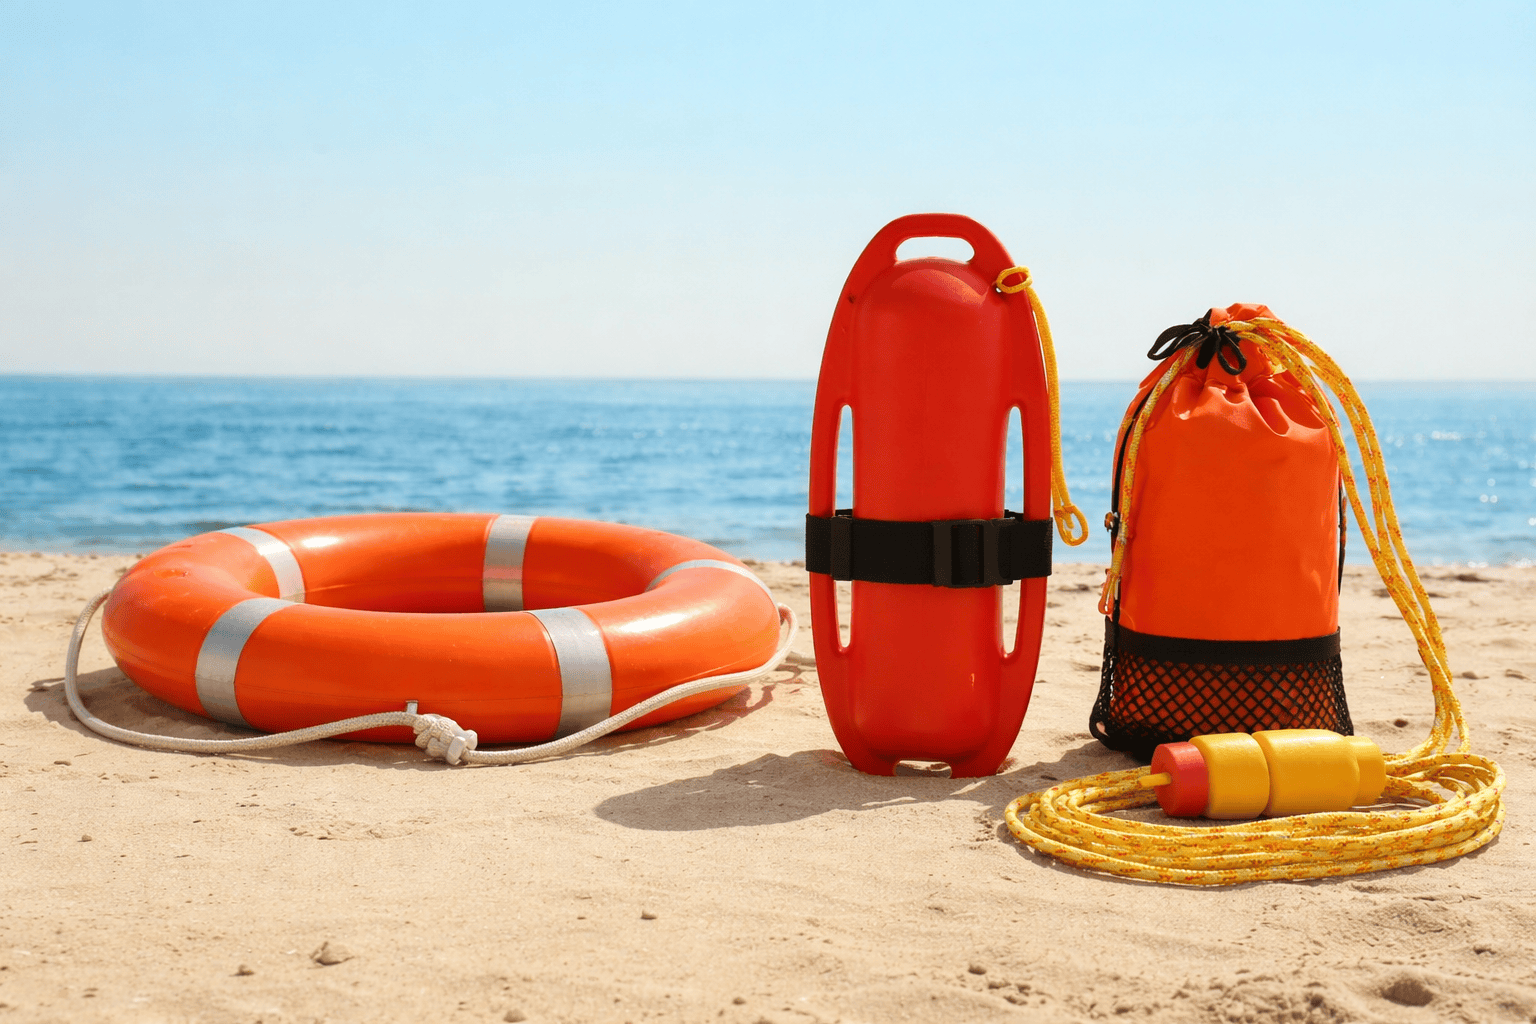
Lifebuoy vs Rescue Can vs Throw Bag sounds like a simple gear comparison—until you’re the one on the dock, watching someone drift away faster than your team can swim.
That’s where most facilities get stuck: they own equipment, but they don’t know which tool matches which scenario (pool, marina, river, surf, cold water, panicked victim, multiple victims).
We work with B2B buyers who need gear that’s easy to deploy, easy to train, and reliable in real operations—not just on paper.
In this guide, you’ll get a no-fluff comparison table, deployment tips, and a buyer-ready checklist you can use for procurement and staff training.
Let’s get into it.
Who is this guide for?
If you manage a pool, waterfront, marina, vessel, resort, or rescue team, your “best gear” is the one your staff can deploy correctly in under 10 seconds.
This is written for:
- Lifeguard teams (pool + open water)
- Marina/dock operations and vessel operators
- River-adjacent facilities (campgrounds, rafting operators, parks)
- Distributors and project contractors buying water rescue equipment in volume
Quick comparison table
Here’s the fastest way to decide what belongs on your wall, your rescue board, or your response cart.
| Equipment | Best for | Strengths | Limitations | Training level |
|---|---|---|---|---|
| Lifebuoy (ring buoy / life ring) | Docks, vessels, fixed waterfront points | Easy “throw” aid; can be stored ready to cast; regulated on vessels | Short range for many users; wind affects throws; line management matters | Low–Medium |
| Rescue Can (torpedo buoy / rescue buoy) | Lifeguards & rescue teams entering water | High buoyancy + tow ability; handles; supports rescuer + victim; good for surf/patrol use | Requires swimmer rescuer; impact hazard in surf if mishandled | Medium–High |
| Throw Bag (throw rope / rescue bag) | Rivers, moving water, steep banks | Long reach; rescuer stays on shore; rope control | Rope entanglement risk; needs solid stance/anchor; not ideal in surf | Medium–High |
A note for vessel buyers: U.S. regulations specify requirements for ring life buoys (including size and stowage/accessibility).
What each tool really does
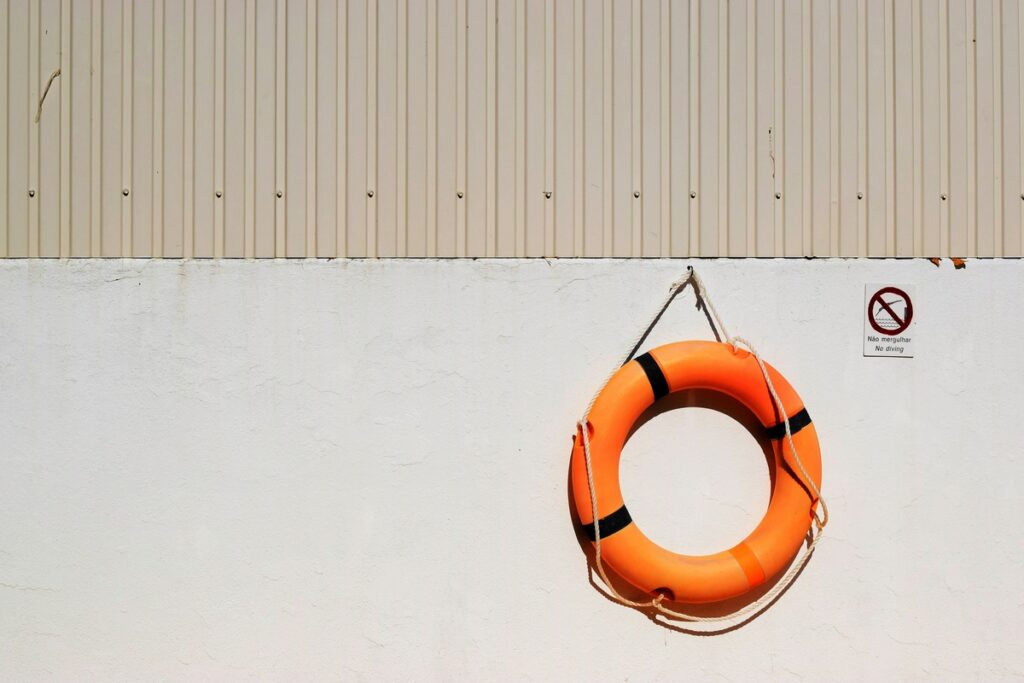
Lifebuoy vs Rescue Can vs Throw Bag — Lifebuoy (ring buoy)
A lifebuoy is the fastest “give flotation now” option when you can’t or shouldn’t enter the water.
It’s common on docks, piers, vessels, and waterfront facilities because you can mount it visibly and deploy it quickly.
What it’s great at:
- Immediate flotation for a conscious person
- Marking a location in low visibility
- “Throw” rescue when you have a fixed point and clear line of sight
What it’s not great at:
- Long-distance reach in wind or surf
- Situations requiring towing the victim back (unless you have a trained rescuer + line management)
If you’re operating vessels, ring life buoys are regulated items in many contexts (size, accessibility, approved standards).
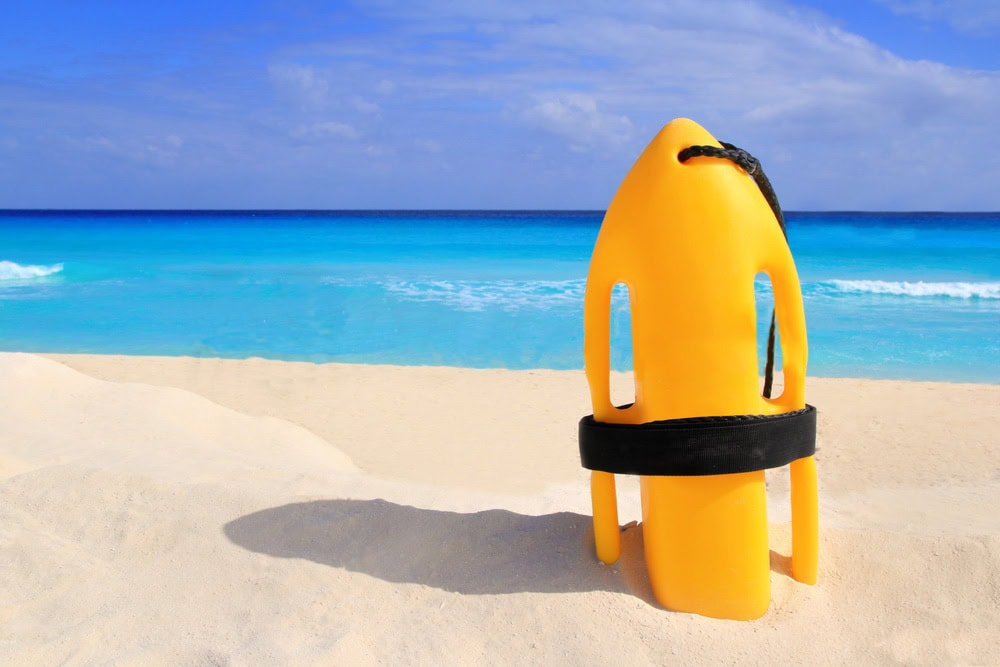
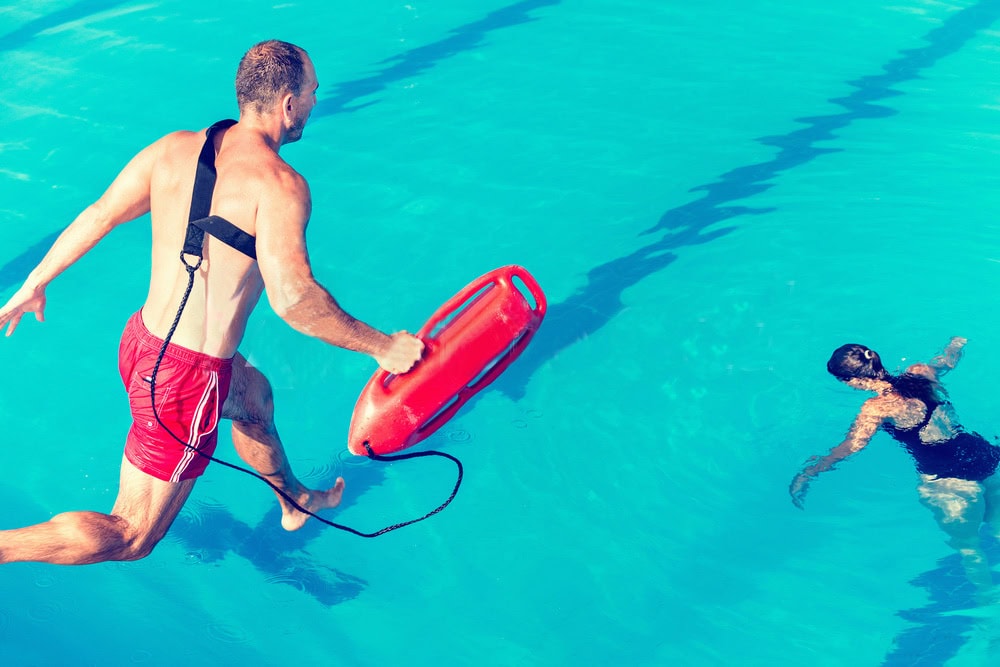
Lifebuoy vs Rescue Can vs Throw Bag — Rescue Can (torpedo buoy)
A rescue can is built for a rescuer who enters the water and needs to control a panicked victim safely.
It’s a staple of professional lifeguard work because it gives flotation to the victim while keeping the rescuer safer.
A big point: The American Red Cross review of water rescue equipment lists multiple “reach or throw” tools including ring buoy and rescue canister/rescue tube style devices—because different situations require different tools.
Where rescue cans shine:
- Surf or open water patrol
- Long swims where towing matters
- Multiple victims (with trained rescuer + correct technique)
Where they struggle:
- You still need a capable rescuer to enter the water
- Not ideal when entry is dangerous (swiftwater hazards, debris, cold shock risk)
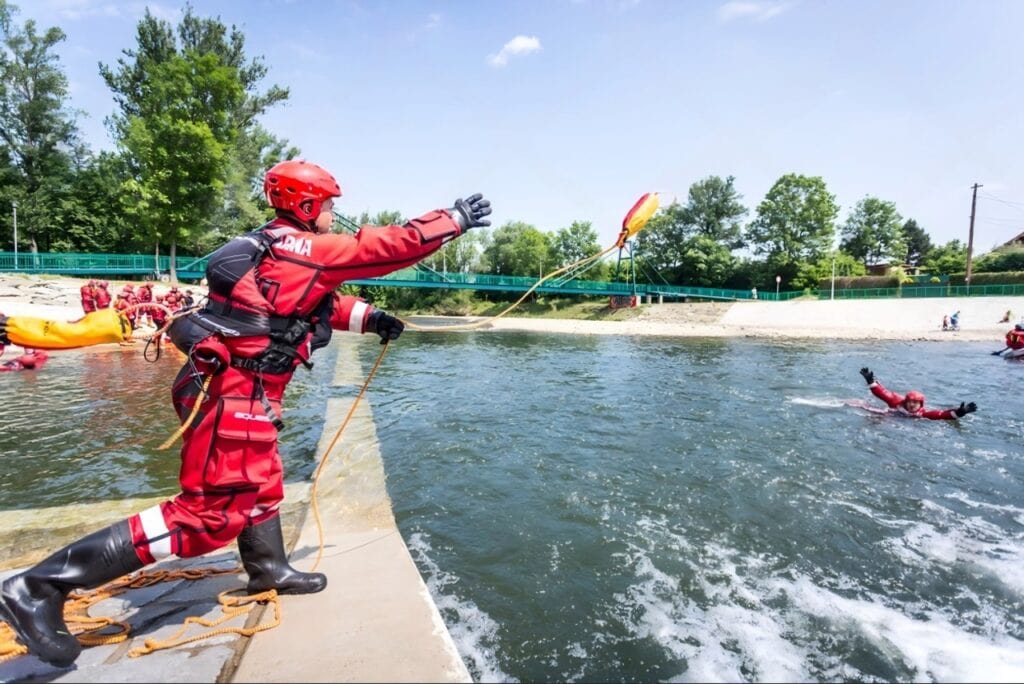
Lifebuoy vs Rescue Can vs Throw Bag — Throw Bag (throw rope)
A throw bag is your “distance multiplier” when the safest rescue is staying on shore.
In moving water, that matters. You often don’t want a second victim (the rescuer).
Throw bag basics are widely taught in swiftwater contexts: hold the working end, aim past the target, and maintain a stable stance so you don’t get pulled in.
Throw bags are best for:
- Rivers, canals, steep banks
- Rescue from shore or a stable platform
- Reaching a person without entering the water
Watch-outs:
- Rope entanglement and snag hazards
- Requires training and practice, not “buy and forget”
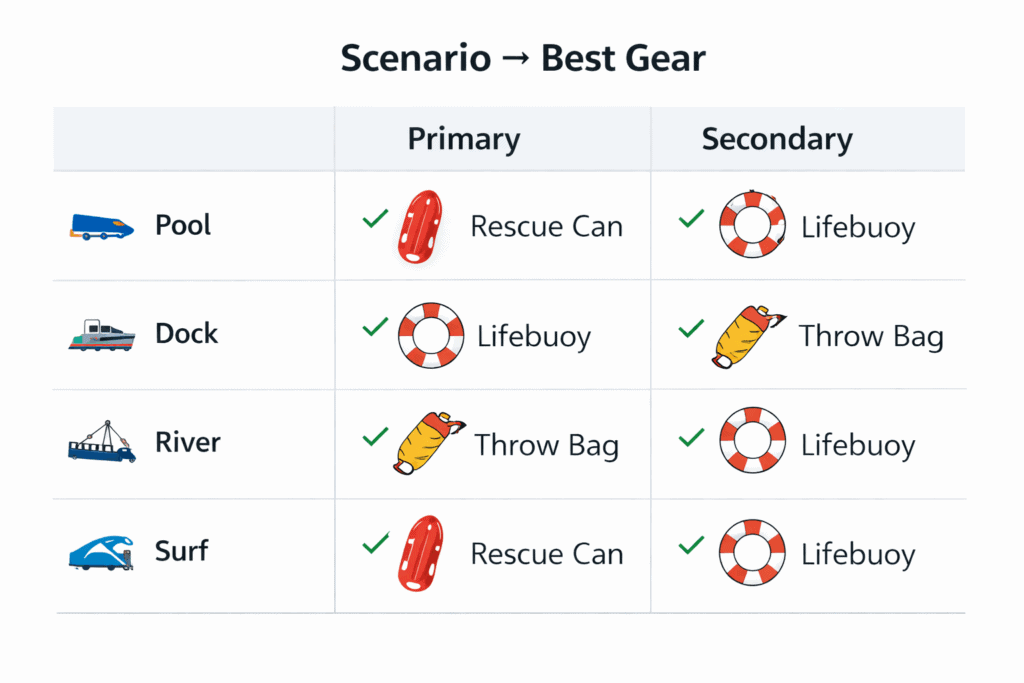
How to choose by scenario (the part buyers care about)
Don’t buy “one tool for everything.” Buy the tool that matches your most likely incident profile.
1) Pools and controlled water (lifeguard stations)
Primary: Rescue can (for controlled approach + tow)
Secondary: Lifebuoy (as quick throw backup)
Why:
- Most incidents are close-range, visible, and fast-developing
- Victims may be panicked and grabby—rescue can helps protect the rescuer
2) Docks, marinas, piers, resorts
Primary: Lifebuoy (mounted + ready-to-cast)
Secondary: Throw bag (if there’s a line-of-sight long throw zone)
Why:
- Entry may be unsafe (slippery edges, boat traffic)
- The fastest help is usually flotation + line control from shore
3) Rivers and moving water
Primary: Throw bag
Secondary: Lifebuoy (only for specific shoreline setups)
Why:
- Current defeats slow swims
- Shore-based throw often beats water entry for safety
4) Surf/open water patrol
Primary: Rescue can
Secondary: Lifebuoy (for fixed points)
Why:
- Towing and victim control matter
- Rescue can is designed for rescuer entry + victim support
Deployment tips that prevent bad outcomes
The best equipment fails when staff don’t practice the first 5 seconds.
Here’s a simple, repeatable approach.
Lifebuoy vs Rescue Can vs Throw Bag: Lifebuoy throw (numbered)
- Shout to get attention and confirm they can grab
- Hold the line end (if attached), avoid tangles
- Throw past the victim so the line crosses their reach
- Pull gently to bring the ring within reach
- Keep verbal reassurance and guide them to hold correctly
For vessel and regulated settings, ensure your ring buoy is readily accessible and stowed for rapid deployment.
Lifebuoy vs Rescue Can vs Throw Bag: Throw bag steps (numbered)
- Secure the working end in your hand (never let go)
- Take a wide, stable stance
- Throw past the victim so the rope lands across their path
- Coach: “Grab the rope, face downstream, feet up!” (moving water)
- Pendulum them to shore; don’t dead-pull against strong current
Practical guidance commonly emphasizes stance and aiming past the target to avoid being pulled in and to improve accuracy.
Lifebuoy vs Rescue Can vs Throw Bag: Rescue can approach (bullets)
- Keep the buoy between you and the victim
- Offer flotation first, then control contact
- Use the strap/line correctly to tow
- Avoid impact hazards in surf (control the can, don’t “launch” it)
Procurement checklist (copy-ready)
If you’re buying for teams, don’t just compare price—compare deployability, durability, and training load.
Minimum buyer checklist (bulleted)
- Clear use-case: pool/dock/river/surf
- Visibility: color + reflective tape (if needed)
- Line/rope management: length, storage, snag risk
- Handles/grips: victim and rescuer control
- Materials: UV, saltwater, abrasion resistance
- Documentation: user instructions + maintenance guidance
- Training plan: drill frequency + simple SOP card
6 questions to ask suppliers (numbered)
- What scenarios is this model designed for (pool vs surf vs river)?
- What buoyancy rating / standards does it meet (if applicable)?
- What line/rope spec is included (length, float rope, quick-release)?
- How does it handle UV + salt + abrasion over time?
- What spare parts are available (line, strap, buckles)?
- Can you supply OEM branding and bulk packaging for distributors?
The Red Cross scientific review highlights multiple “reach or throw” equipment options as effective for lay responders and structured rescue contexts—so “matching equipment to scenario” is the right purchasing mindset.
Maintenance and hygiene (don’t skip this)
Water rescue gear touches skin, vomit, blood, and contaminated water—cleaning is part of readiness.
If equipment contacts blood or other potentially infectious materials, OSHA requires cleaning and decontamination.
Simple routine:
- Rinse after saltwater exposure
- Dry out of direct sun when possible
- Inspect lines/ropes for abrasion and knots
- Replace cracked straps/buckles promptly
- Keep an “inspection tag” with dates and initials
What to Do Now: From Selection to Training
Lifebuoy vs Rescue Can vs Throw Bag isn’t about which tool is “best”—it’s about which tool your team can use correctly, fast, in your most common scenario.
If you manage a facility or buy for distribution, build your kit like a system: one throw solution (lifebuoy or throw bag) + one rescuer-entry solution (rescue can) where appropriate.
We’re a factory-direct manufacturer of water rescue and emergency equipment, built for B2B buyers who care about durability, consistency, and support.
Learn more about us here: About Us.
If you want pricing, a catalog, or OEM branding for your market, send us an inquiry here: Contact Us.
For more water rescue product options.
Homepage: JIEKANG Rescue.
Lifebuoy vs Rescue Can vs Throw Bag: FAQ
Which is best for a marina or dock?
Usually a lifebuoy mounted and ready-to-cast, plus clear signage and a simple drill schedule. For regulated/vessel settings, ring buoy accessibility and rapid deployment matter.
Which is best for rivers?
Throw bags are often the safest first-line option because the rescuer can stay on shore.
Why do lifeguards use rescue cans?
Rescue cans support rescuer-entry rescues by providing flotation and control during approach and towing.

