

Introduction
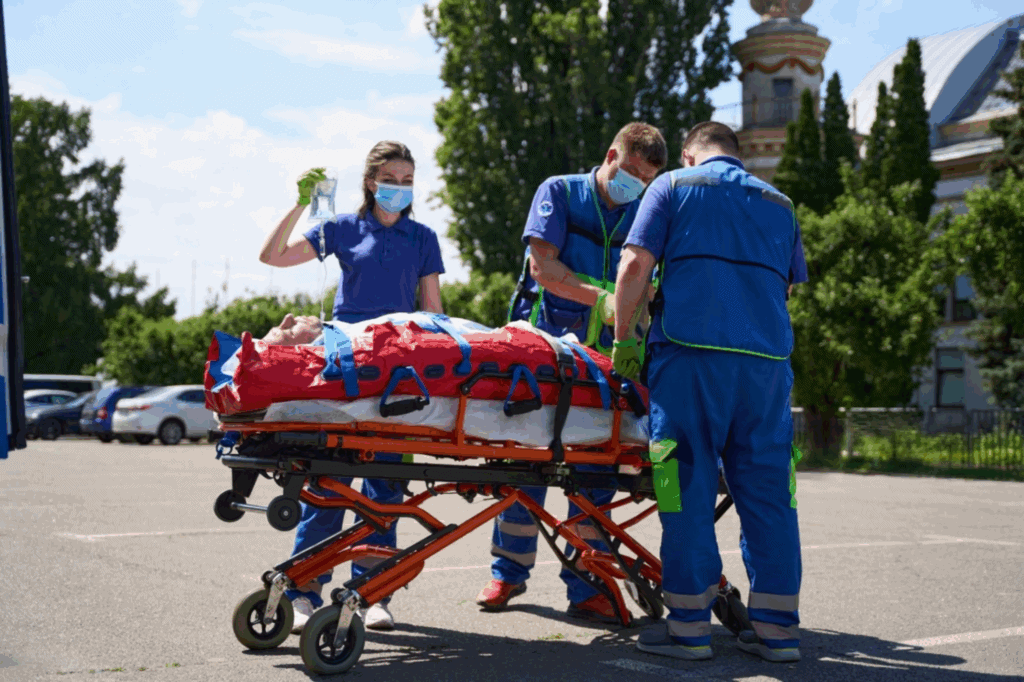
In emergency care, the stretcher is the platform—but the accessories decide whether transport stays safe, organized, and clinically uninterrupted.
In this guide, we’ll walk through three core stretcher accessories—IV poles, safety belts (restraint straps), and head immobilizers—plus a short list of other add-ons procurement teams ask about most. For each item, you’ll get a clear “what it does” and a step-by-step how-to you can reuse in training.
1) IV Pole: Keep IV therapy running during transport
What it is
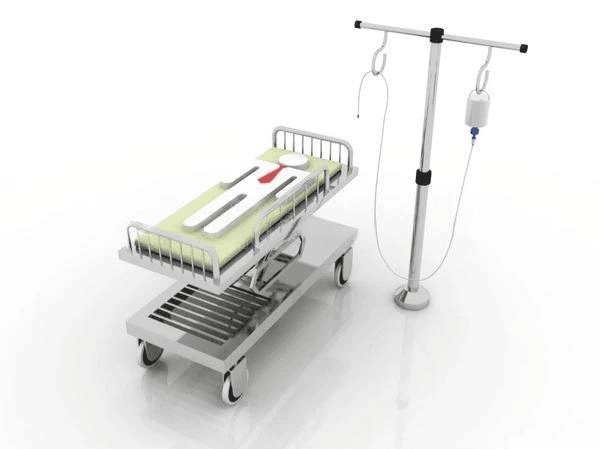
An IV pole is mounted on the stretcher to hold IV fluid bags (and sometimes pumps), so fluids and medications can continue while the patient moves through hallways, elevators, and ambulance rides. It may be built-in (folding) or a clamp-on removable pole.
Why it matters
The IV pole supports safe, stable hanging height and helps prevent line tangles, kinks, or accidental pulls—especially during fast transfers to imaging, surgery, or higher-level care.
How to use it (step-by-step)
- Pre-move line check (10 seconds). Visually confirm IV tubing, monitoring leads, drains, and catheters are secure and flowing as intended.
- Set the IV bag position to the side. Keep bags hanging off the patient’s side—not directly above the head—so you reduce snag risk and keep the airway/face area clear.
- Manage slack without making loops. Leave enough tubing to avoid tension during turns, but don’t allow long hanging loops that can catch on rails, door handles, or wheels.
- Lock the pole and do a quick “first-turn recheck.” After the first corner/elevator entry, pause briefly and confirm the line hasn’t tightened, kinked, or snagged.
- Move with the IV side in mind. When possible, position the team so the IV side stays protected from walls/doorframes.
Authoritative training references
- AST: Guidelines for Patient Transportation (includes IV pole positioning and line security reminders)
2) Safety Belts / Restraint Straps: The “must-use” accessory
What it is
Stretcher safety belts (restraint straps) secure the patient to the stretcher to reduce sliding, rolling, and falls during movement—especially with sudden stops, turns, and uneven surfaces. Most systems include multiple straps across chest/shoulders, pelvis/waist, and legs.
Why it matters
This is the accessory that prevents “avoidable transport incidents.” Many EMS safety programs and manufacturer manuals emphasize a simple rule: use all restraint straps provided.
How to use it (step-by-step)
- Stage straps before loading. Unbuckle and lay straps to each side so you’re not reaching under the patient later.
- Center the patient. Align the patient on the stretcher’s centerline and keep hips positioned for comfort and stability (especially if the backrest will be raised).
- Buckle in a stable order. A practical sequence is:
- Chest/shoulders first (stabilizes upper body)
- Waist/pelvis second (prevents sliding)
- Legs last (reduces lower-body shift)
- Use every strap included by the manufacturer. Don’t “skip the shoulder straps” or leave one strap loose “just for comfort.” Comfort comes from correct placement and padding—not from missing restraint points.
- Tighten snug, not crushing. You want secure contact without restricting breathing or causing pressure pain.
- Perform a buckle/lock check. Give each strap a short tug to confirm it’s latched and won’t slip.
- Recheck after movement changes. After raising the backrest, entering the ambulance, or completing a long carry, do a quick reassessment (straps can loosen as the patient settles).
Authoritative training references
- MIEMSS: Buckle Up Project (emphasizes correct use of all stretcher straps)
- Ferno: Restraint/Strap Instructions (restraint concepts and attachment guidance)

3) Head Immobilizer: Protect cervical alignment when indicated
What it is
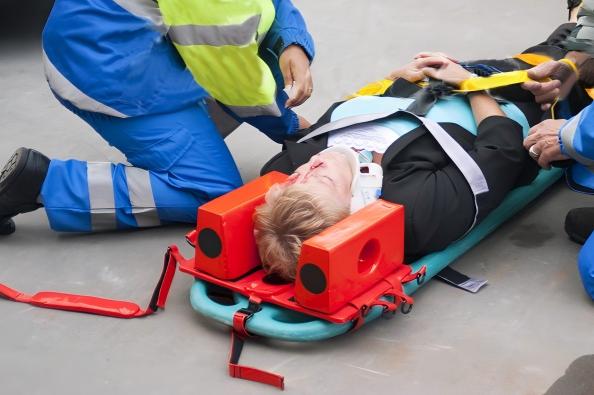
A head immobilizer (head blocks + forehead/chin straps) supports the head in a neutral position—typically used with a cervical collar and spinal motion restriction setup when clinically indicated and permitted by local protocol.
Why it matters
The goal is straightforward: reduce unwanted head/neck motion during movement. For suspected cervical injury, small uncontrolled movements during lifting and turning can increase risk.
How to use it (step-by-step)
- Maintain neutral alignment. Start with manual stabilization as needed; apply cervical collar per protocol.
- Secure the torso first. Strap the upper torso/chest and pelvis before immobilizing the head—this prevents the body from shifting under the head blocks.
- Place lateral supports. Position head blocks (or approved supports) snugly to both sides of the head.
- Secure the forehead strap. Apply the forehead strap across the brow/forehead area to prevent lateral movement.
- Confirm airway access and patient tolerance. Ensure immobilization doesn’t block necessary access or create pressure issues.
- Reassess after any transfer. If the patient is moved from device to stretcher, recheck alignment and strap tension.
Authoritative training references (names only)
- SAEM: Spinal Immobilization Education Materials (sequence and basic technique)
Other useful attachments (keep it simple)
Oxygen cylinder holder
Purpose: Keeps oxygen cylinders stable so they don’t roll, tip, or become hazardous during movement.
How to use (step-by-step):
- Verify cylinder size fits the holder.
- Seat the cylinder fully and secure it upright with the strap/chain.
- Perform a quick shake test—no wobble, no slide.
- Route oxygen tubing away from wheels and hinge points.
Training reference (name only): OSHA standard guidance on securing cylinders upright during powered transport.
Pump/monitor mounts and trays
Purpose: Prevents heavy devices from shifting during turns or stops.
How to use (step-by-step):
- Confirm load rating and compatibility.
- Lock the mount first, then place and secure the device.
- Cable-manage to prevent snagging.
- Recheck after the first hallway turn or vehicle loading.
Foldable side rails
Purpose: Reduces roll-off risk and improves handling.
How to use (step-by-step):
- Raise rails before movement unless care requires them down.
- Confirm both rails are fully locked.
- Lower only when transferring or performing procedures—and only when the patient is already restrained.
Disposable sheets / pads
Purpose: Faster hygiene turnover and better comfort.
How to use (step-by-step):
- Place barrier before loading.
- Remove carefully after use to reduce contamination spread.
- Clean per infection-control policy before the next patient.
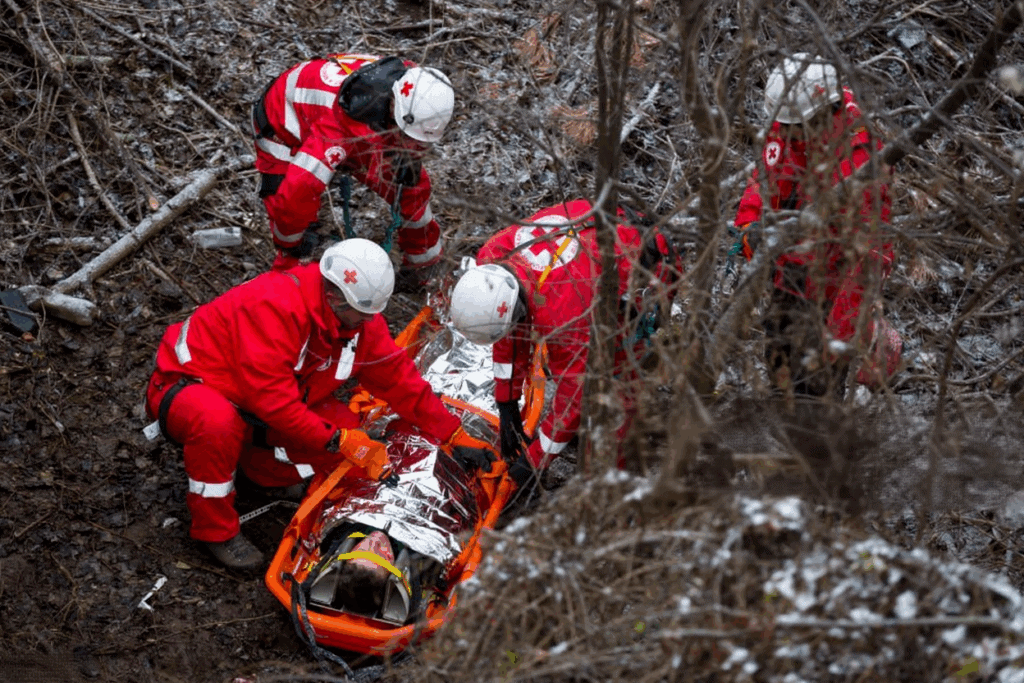
Weather covers / thermal covers
Purpose: Helps protect patients from cold, rain, or wind during outdoor transport.
How to use (step-by-step):
- Secure patient and manage lines first.
- Apply cover without blocking airway access or monitoring view.
- Recheck patient status during prolonged transport.
Build a Safer, Better-Equipped Stretcher Setup
If you’re sourcing stretcher accessories for hospital transport, EMS fleets, ambulance upfitters, or distribution, we can help you match the right configuration and provide documentation your team can use for rollout training.
Reach out to Jiekang for a catalog, compatibility guidance, or OEM/ODM customization (color, logo, strap configuration).
Email: jkyl@jkyl.net
Next step: Use our contact page for a faster quote + accessory checklist.

