
If you’re training teams on how to immobilize a patient on a spine board, the biggest issue is rarely skill—it’s inconsistency.
One crew moves smoothly because everything is staged and roles are clear. Another crew wastes time looking for straps, gives mixed commands, and loses alignment during transfer, Standardized handoffs and communication reduce confusion during patient transitions.
For EMS training centers, rescue teams, and medical equipment buyers, this kind of variation creates risk and makes performance hard to measure.
This guide gives you a simple, repeatable workflow for spine board immobilization using straps and head blocks. It’s designed for training, auditing, and standardization across teams.
Important: Always follow your local protocols and the manufacturer’s instructions for use (IFU).
Why Standardization Matters
A good immobilization process should not depend on who is on duty.
Standardization helps you:
- Reduce unnecessary patient movement
- Improve team coordination
- Make training easier to evaluate
- Scale consistent practices across stations
For procurement teams, it also helps answer a key question:
Does this equipment support a repeatable, real-world workflow?
What “Immobilization” Means Today
Many systems now use the term Spinal Motion Restriction (SMR) instead of full immobilization.
Why? Because spine boards and accessories reduce motion—but don’t eliminate it completely.
In practice, that means:
- The goal is to minimize movement, not eliminate it
- The spine board is mainly a transfer tool, not a long-term surface
Extended time on a rigid board may increase:
- Patient discomfort
- Pressure-related risks
- Breathing restriction
So your workflow should focus on secure, efficient handling and minimizing time on the board.

Team Roles: Keep It Simple and Clear
A smooth drill depends on clear roles.
Recommended roles
Team Lead
Gives commands and controls timing.
Head Control (C-spine)
Maintains alignment and approves all movement.
Straps Lead
Prepares and applies straps, then performs final checks.
Head Immobilizer Lead
Installs the base plate, head blocks, and straps.
Safety / Recorder
Tracks time, logs errors, and stops unsafe actions.
Keep it simple: each person owns one task and does it well.
What to Prepare Before the Drill
Set up one complete immobilization kit per training lane.
A standard kit includes:
- Spine board / backboard
- Patient straps (plus spares)
- Head immobilizer (base plate + blocks + straps)
- PPE
- Cleaning supplies
- Timer
- Printed checklist
One small detail makes a big difference:
Lay out all straps in advance, ready to use
This alone can save up to a minute per drill.
Step-by-Step Spine Board Immobilization Procedure
Here is a practical spine board immobilization procedure you can use for training and real operations.
1. Assign roles and confirm stop signal
Before touching the patient:
- Confirm who controls the head
- Confirm who handles straps and head immobilizer
- Confirm who can stop the process
Anyone should be able to call “Stop” if something is unsafe.
2. Check equipment and stage straps
Make sure:
- The board is intact and clean
- All straps are present and compatible
- The head immobilizer is complete
Lay straps out in order so the Straps Lead never has to search for them.
3. Transfer the patient onto the board
Use your approved method (log roll, lift-and-slide, etc.).
Key point:
Move together, on command
The Team Lead should use clear cues like:
- “Ready”
- “Move”
- “Stop”
Rushed or uncoordinated movement is a common failure point.
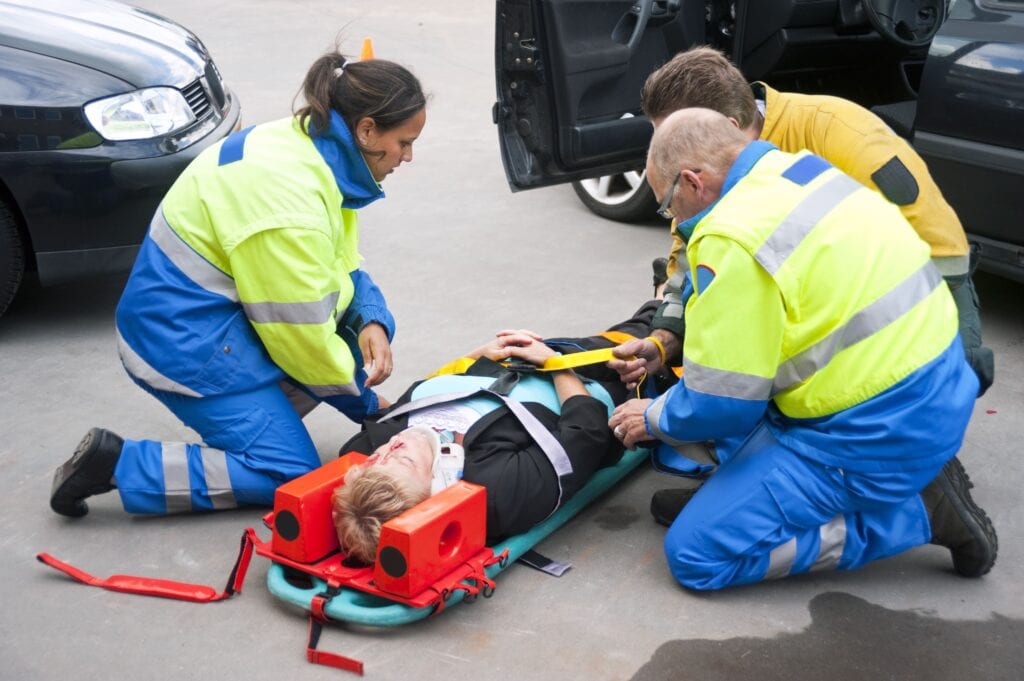
4. Secure torso, pelvis, and legs
Apply patient securement straps on backboard according to your protocol.
Focus on:
- Stability without over-tightening
- Keeping access for assessment
Always secure the body before moving to head immobilization.
5. Attach the head immobilizer base plate
Install the base plate firmly.
Pass/fail rule:
It must not slip
If it moves, fix it before continuing.
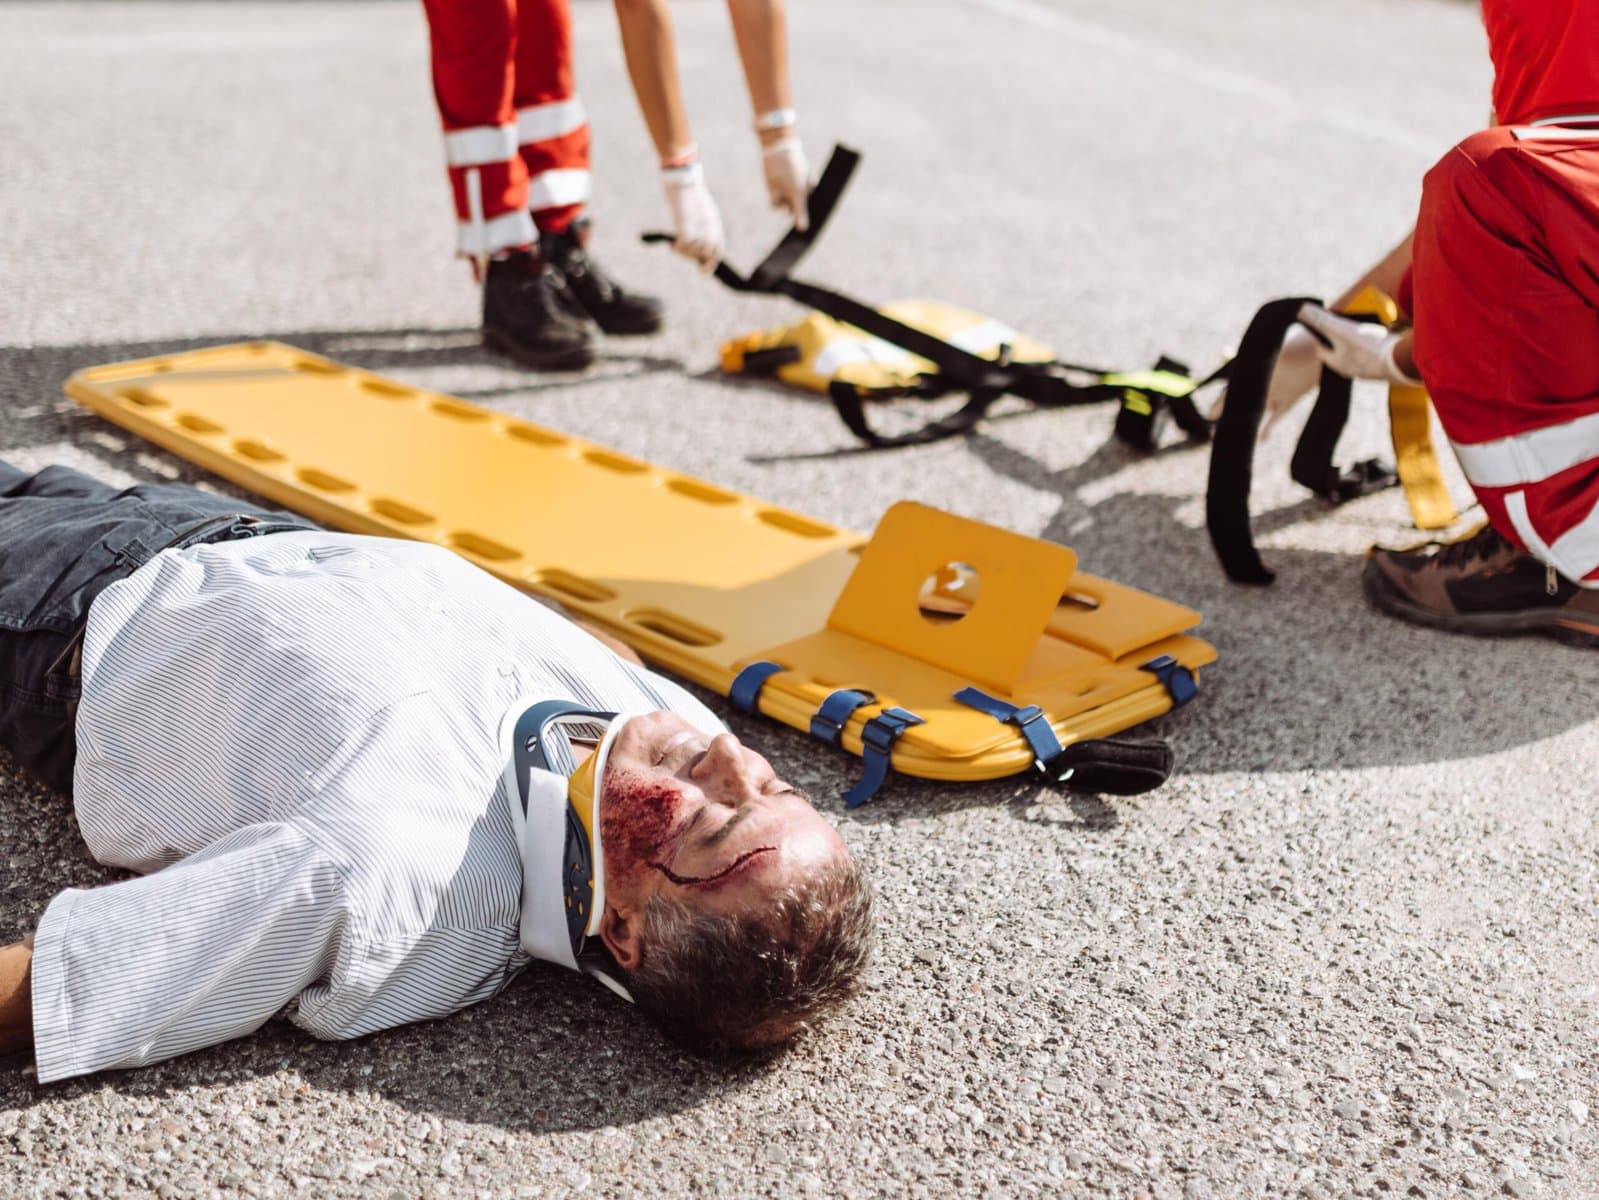
6. Place head blocks
Position head blocks on spine board snugly on both sides.
Make sure:
- The head stays in a neutral position
- Observation and communication remain possible
7. Apply forehead and chin straps
Secure the head according to your protocol.
Do not improvise strap routing.
Common issues include:
- Twisted straps
- Misalignment
- Loose fastening
8. Final safety check
Before moving the patient:
- Confirm the patient is secure
- Confirm all equipment is secure
- Confirm the team is ready
This is your last chance to catch small mistakes.
Recommended Drill Time
A realistic training target is:
6–8 minutes total
| Step | Target Time |
|---|---|
| Roles & briefing | 30–45 sec |
| Equipment check | 45–60 sec |
| Transfer to board | 30–90 sec |
| Body securement | 60–120 sec |
| Head immobilizer | 60–90 sec |
| Final check | 30–60 sec |
Speed matters—but control matters more.
Common Mistakes to Watch For
1. Straps are not staged properly
This usually happens when the team begins the drill before the equipment lane is fully prepared.
Why it matters: Time is lost searching for straps, untangling buckles, or reordering the sequence mid-run.
How to fix it: Lay out all straps in advance and assign one person to own securement.
2. Head blocks are applied too early
Teams sometimes rush to “finish the head” before the torso and pelvis are fully secured.
Why it matters: Later adjustments can shift alignment and force rework.
How to fix it: Secure the body first, then complete head immobilization.
3. The base plate is not secured properly
This is a simple mistake, but it creates instability during the entire move.
Why it matters: If the base shifts, the head blocks and straps become less reliable.
How to fix it: Add a clear pass/fail check before moving to the next step.
4. Straps are too tight or routed poorly
Over-tightening and twisted straps are common in rushed training lanes.
Why it matters: This may increase discomfort, interfere with assessment, or create poor positioning.
How to fix it: Train teams to apply straps flat, secure, and according to protocol.
5. The patient is left unattended
This often happens when one operator breaks away to grab missing equipment.
Why it matters: It breaks workflow and increases risk.
How to fix it: Stage everything in advance and use one complete kit per lane.
6. Communication breaks down during movement
Mixed commands create uneven movement and poor coordination.
Why it matters: Even a correct setup can fail during transfer if the team does not move together.
How to fix it: Use one command leader and short, standardized cues such as “Ready,” “Move,” and “Stop.”
These long backboard common mistakes should be part of every training review.
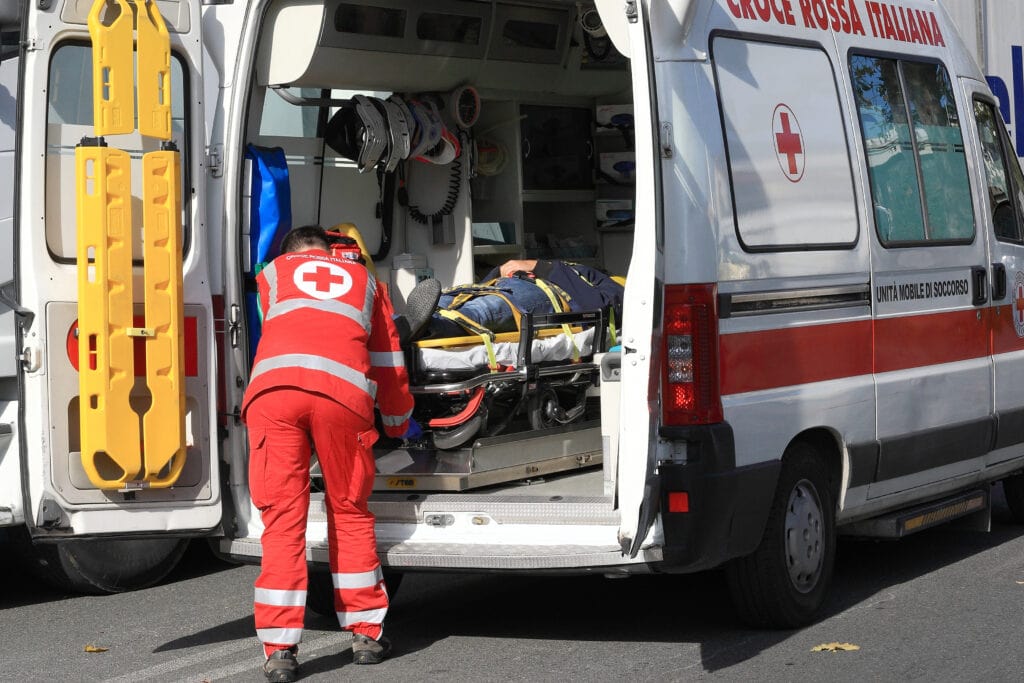
Transfer to Cot: A Critical Moment
Many errors happen during stretcher transfer from backboard to cot.
Why?
- More people involved
- More equipment moving
- Higher coordination needed
Before transfer:
- Adjust cot height
- Clear the path
- Confirm roles again
- Secure loose equipment
Move slower than you think you need to.
Cleaning and Reset Between Drills
A good workflow includes a fast and consistent reset.
Your backboard cleaning and disinfection protocol should include:
- Wiping down all surfaces
- Checking straps for wear
- Resetting the head immobilizer
- Restaging the kit
Easy cleaning = faster training cycles.
What Buyers Should Look For
If you’re sourcing equipment, focus on usability—not just specs.
Key procurement checks
- Load capacity meets your use case
- Straps are compatible and easy to use
- Head immobilizer fits your board securely
- Materials support your cleaning protocol
- Replacement parts are available
- Documentation is complete
The best product is the one your team can use consistently and correctly.
Simple Drill Evaluation Criteria
Use a simple scoring approach:
| Area | Fail | Meets | Exceeds |
|---|---|---|---|
| Roles | Unclear | Assigned | Clear and efficient |
| Transfer | Poor control | Stable | Smooth and coordinated |
| Securement | Loose | Secure | Secure + rechecked |
| Time | Over time | On target | On target, no errors |
| Reset | Incomplete | Ready | Fully reset and checked |
This works well as an EMS immobilization drill scorecard.
Standardizing Training Starts With the Right Equipment
The best immobilization workflow is the one your team can repeat safely, quickly, and correctly. That depends on both training design and equipment fit.
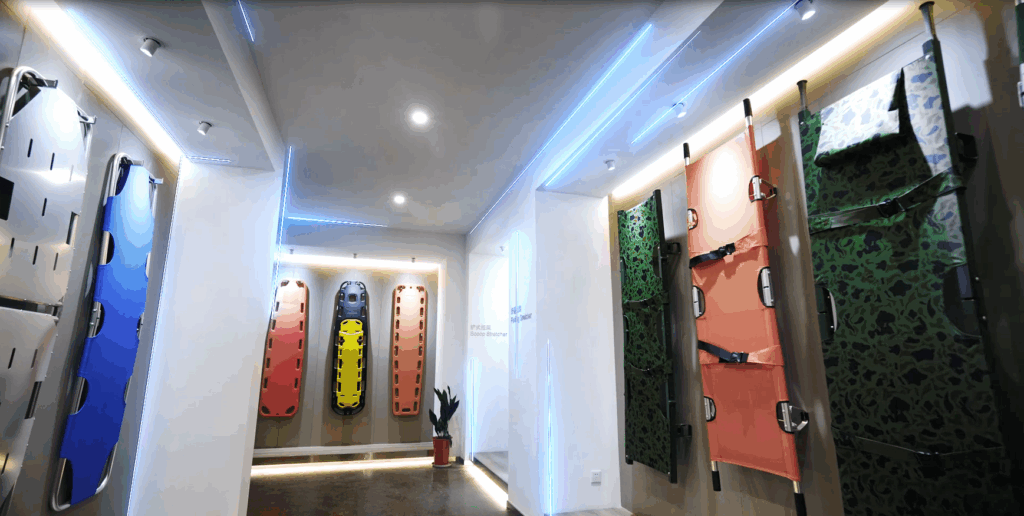
Jiekang supplies spine boards, head immobilizers, and related rescue equipment for training institutions, EMS teams, and distributors. If you need help comparing configurations, checking compatibility, or evaluating samples, contact us with your required specifications.

